Sky at Night
Introduction
Looking up at a cloudless sky at night, you’d be forgiven for thinking the vivid display of light is easy to photograph. A vast array of celestial objects revealing themselves to the naked eye. To some extent the sky at night is easy to photograph, it’s something that is simple for anyone with a DSLR and a tripod to do. But the main problem lies in understanding just how, that’s what I hope to help with.
Understanding Light
Before we think about how to photograph the sky at night, we need a little understanding about what exactly we’re photographing. There are millions of tiny little points of light up there, most of which are so dimly lit we can’t see them with our own eyes. Next time there’s a cloudless sky during sunset go out and do a little sky gazing. You’ll be amazed at how dark it gets before even some of the brightest stars become visible. Earth’s atmosphere is a pretty thick soup of particles scattering light, so really if you want to photograph the stars you need to make sure that they are the only light source around. This gives us two big considerations which far outweigh any technical hangups you might have about your equipment: Where and when?
Where
Needless to say, you need a vantage point that has as little light pollution as possible when photographing the sky at night. It’s pretty alarming at how prominent light pollution can be here in the UK even when you’re a relatively good distance from large settlements. There are dark sky maps available that can help you with choosing a location ideal for photographing the stars, one of the best ones I’ve come across can be found on Need-Less about half way down the main page.
Aside from light pollution, we also have that thick soup of an atmosphere to consider too. High altitudes are beneficial although not essential as long as you have light pollution taken care of. Some of the best places on this front include Snowdonia in North Wales and much of North West Scotland including the Nevis Range.
When
It goes without saying that a cloudless night is all but essential, but the hard part is matching the lucky weather with the right lunar phase. The darkest part of the night is right in the middle between sunset and sunrise regardless of time of year, but to minimise other light sources you need to make sure that there is either a new moon or that your chosen time of night is before moonrise or after moonset so that the moon is below the horizon. It can be a bit of a juggling act getting the conditions right, but there’s usually a few good nights a year for it!
Camera Equipment
You actually need very little in the way of camera gear to photograph the sky at night, with just any modern DSLR and a tripod being the basic requirements. Saying that though, I’ve photographed the stars before without a tripod just by setting the camera on self timer mode and placing it screen-side down on the ground! It worked.
There are a couple of optional extras that will make photographing the sky at night a little easier and more successful though. If you want to fit in a large volume of stars, such as the Milky Way, then a wide angle lens or even a fisheye lens is a great investment and can give amazing results. A wired or wireless shutter release is a cheap and effective way of reducing camera shake to a minimum as it avoids you having to touch the camera at the start of the exposure which can cause vibration.
 Camera Settings
We’re sat on a spinning little rock hurtling through space; a combination of low light and high speed motion that would be a nightmare even for sports photographers! Needless to say, if you want a sharp shot you’re going to need to be gathering a lot of light and keeping shutter speed as quick as possible. Of course, this is relative and what might be a quick shutter speed for most subjects will be barely a blip while photographing the sky at night.
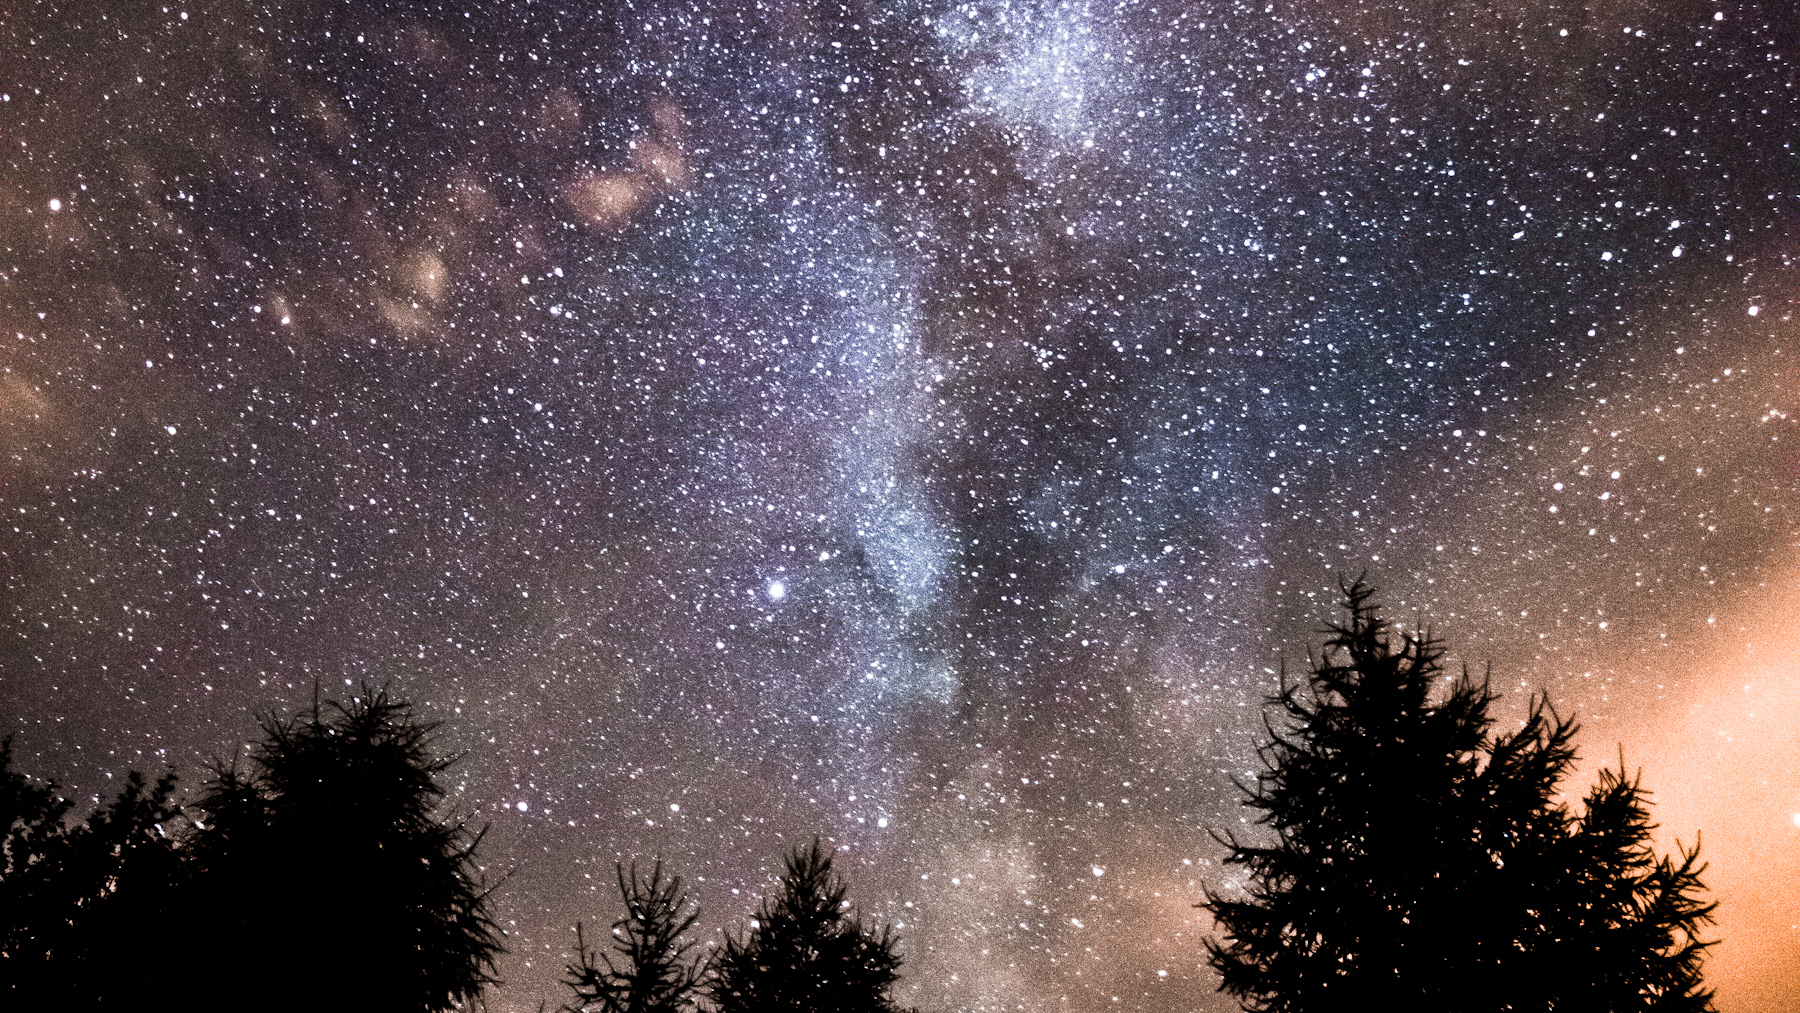
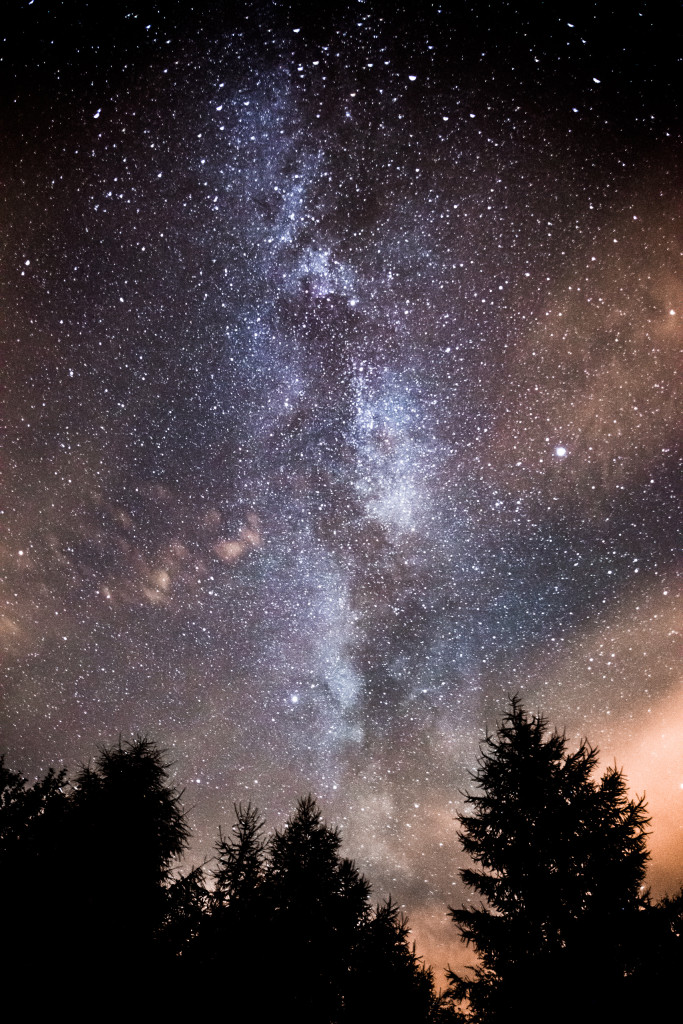
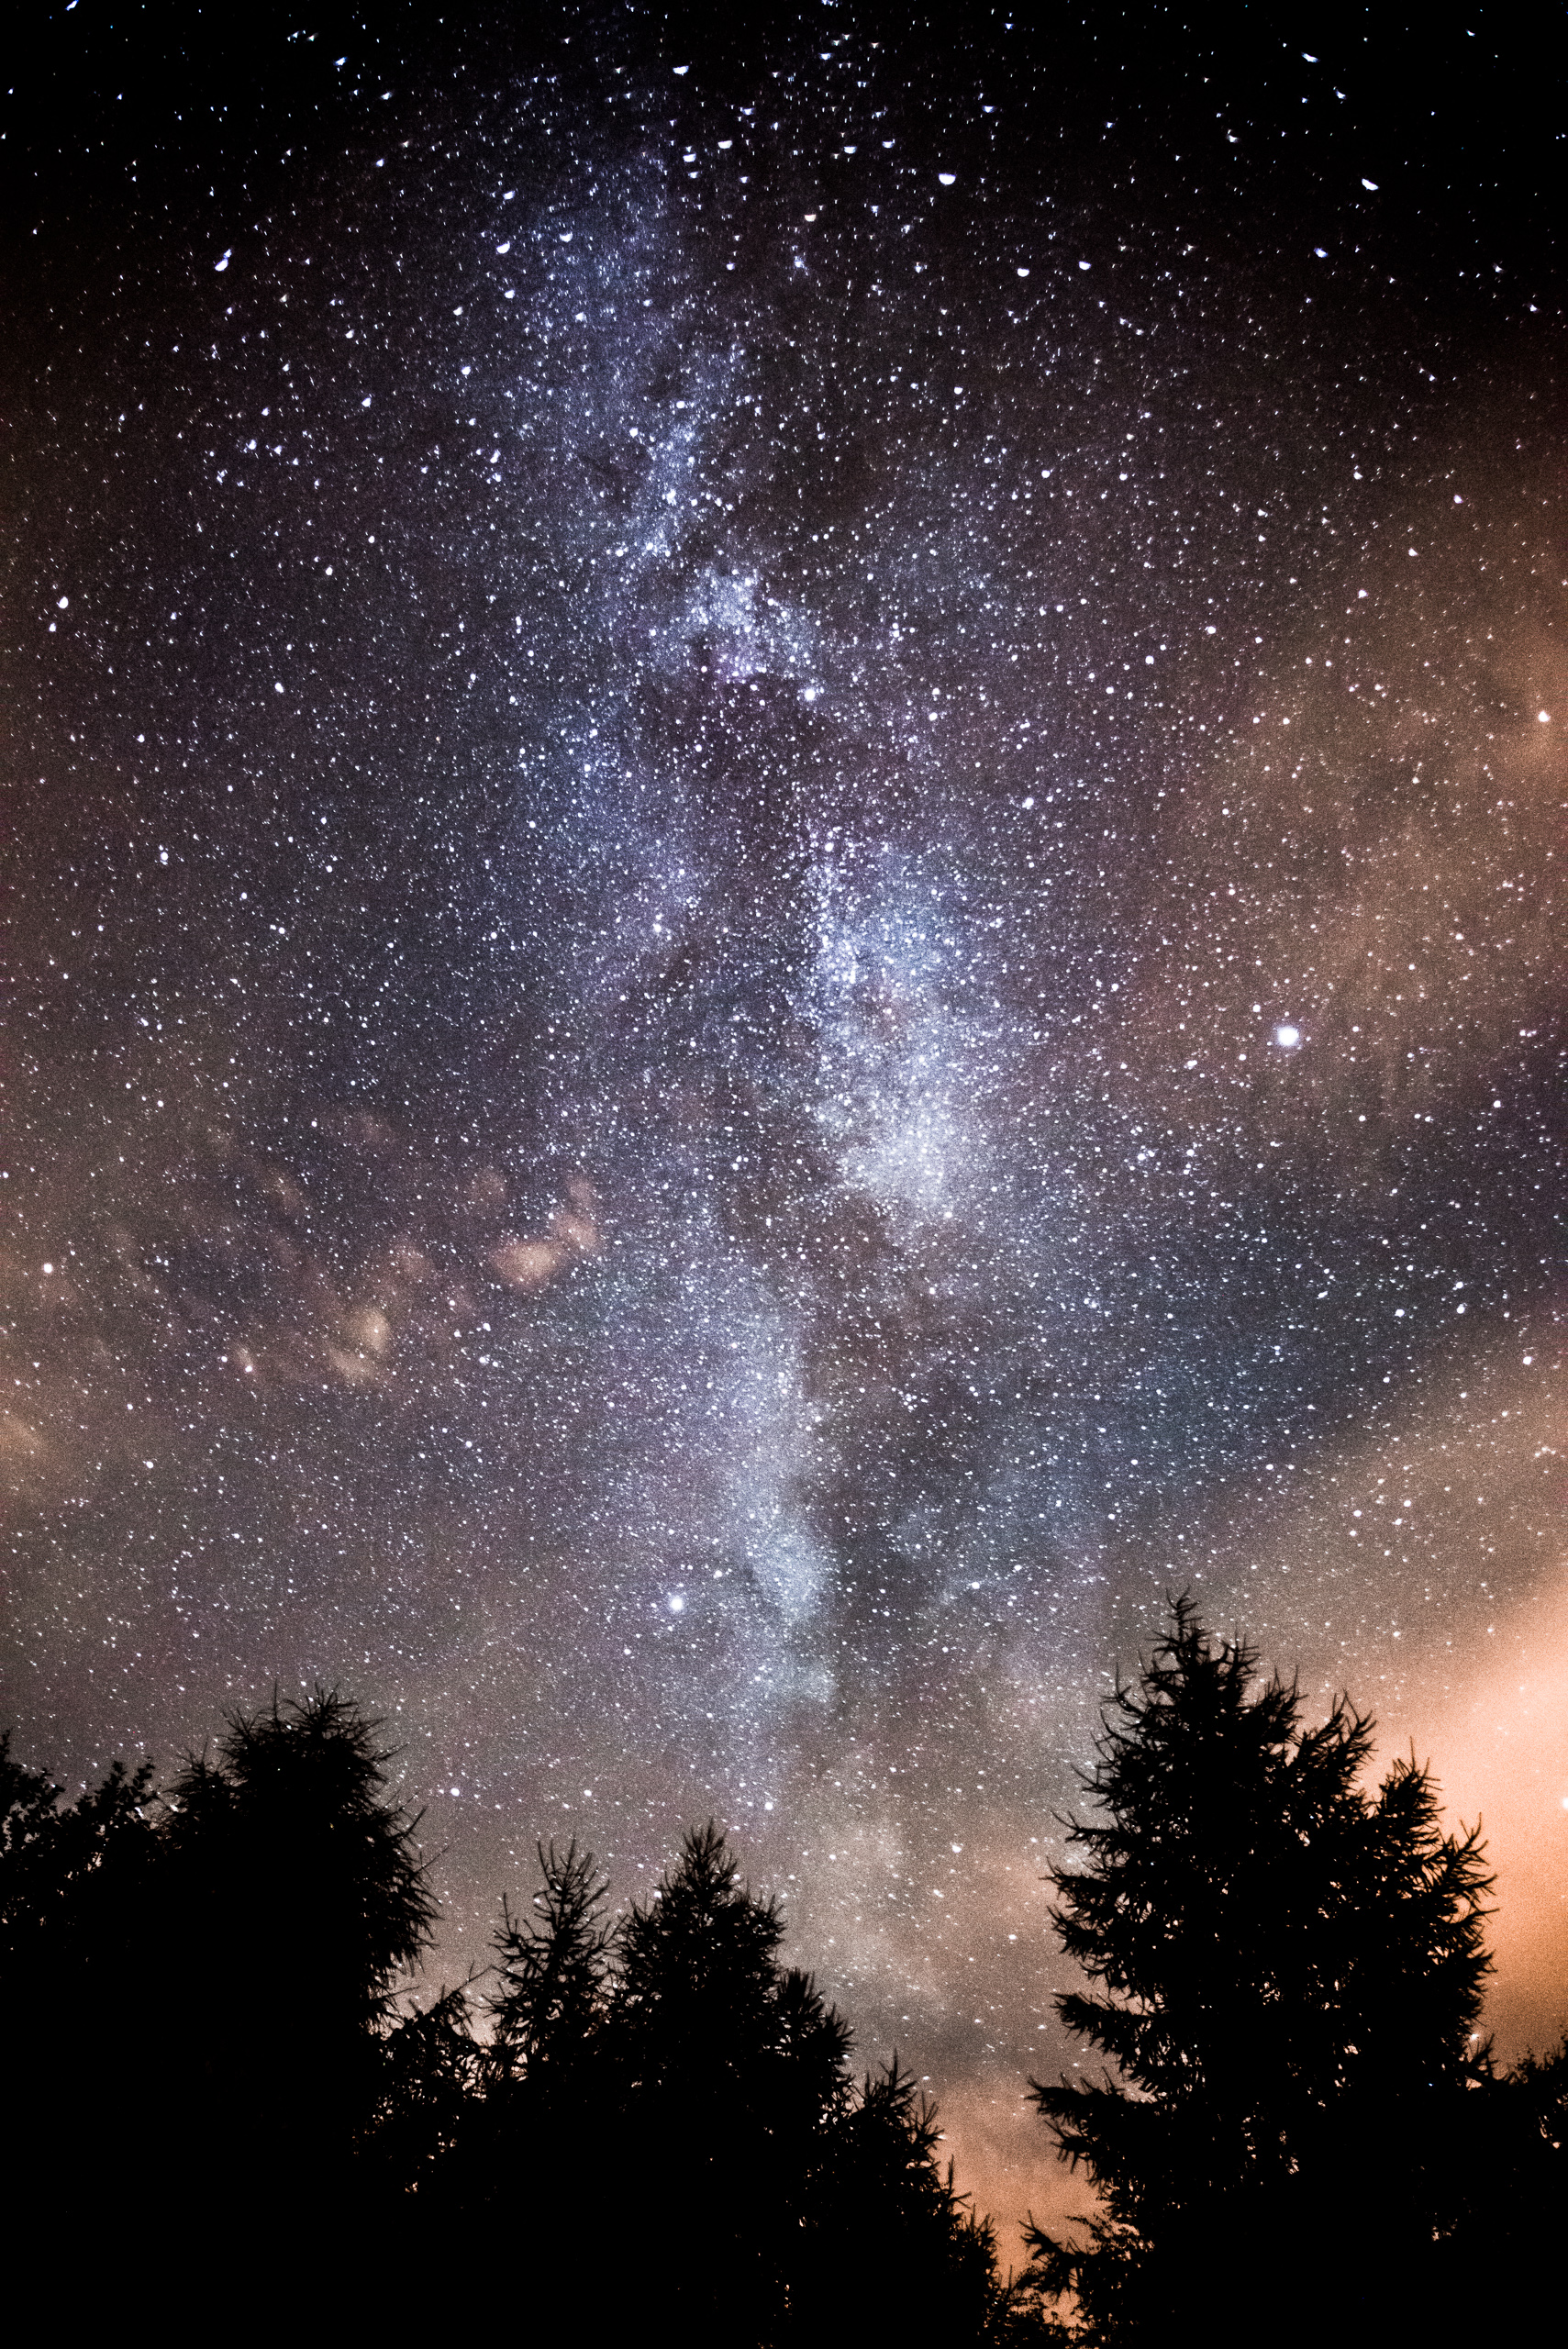
In this photograph of the Milky Way in the article, I used ISO 6400 with the lens set to f/2.8 which gave me a shutter speed of 15 seconds. I normally use this as a good starting point whenever I want to photograph the sky at night or night time landscapes where I want to emphasise the sky rather than the land.
It’s worth baring in mind that any exposure longer than 30 seconds will result in motion blur being visible in the some of the stars due to the rotation of the Earth. That might not sound like such a big issue, in fact its desirable if you’re going for a longer exposure shot (or even exposure stacking) to capture the rotation, but if you’re aiming to expose some of the least bright stars in the sky then they’ll fade to nothing as they smear across the frame. They need that cumulative exposure in a single position in the frame to even appear in some cases!
Alternatives
There are many other ways to photograph the sky at night, many of which can be quite time consuming, involved and expensive. The use of telescopes and tracking mounts to counteract the motion of the Earth allowing for much longer exposures can yield some amazing results, should you decide that astrophotography is something you’d like to invest more in. But for the time being, immerse yourself in the basics outlined here and get experimenting!
Mike